Plan a gallery wall with paper templates before hanging pictures
· Editorial team newswithmiadenver.com
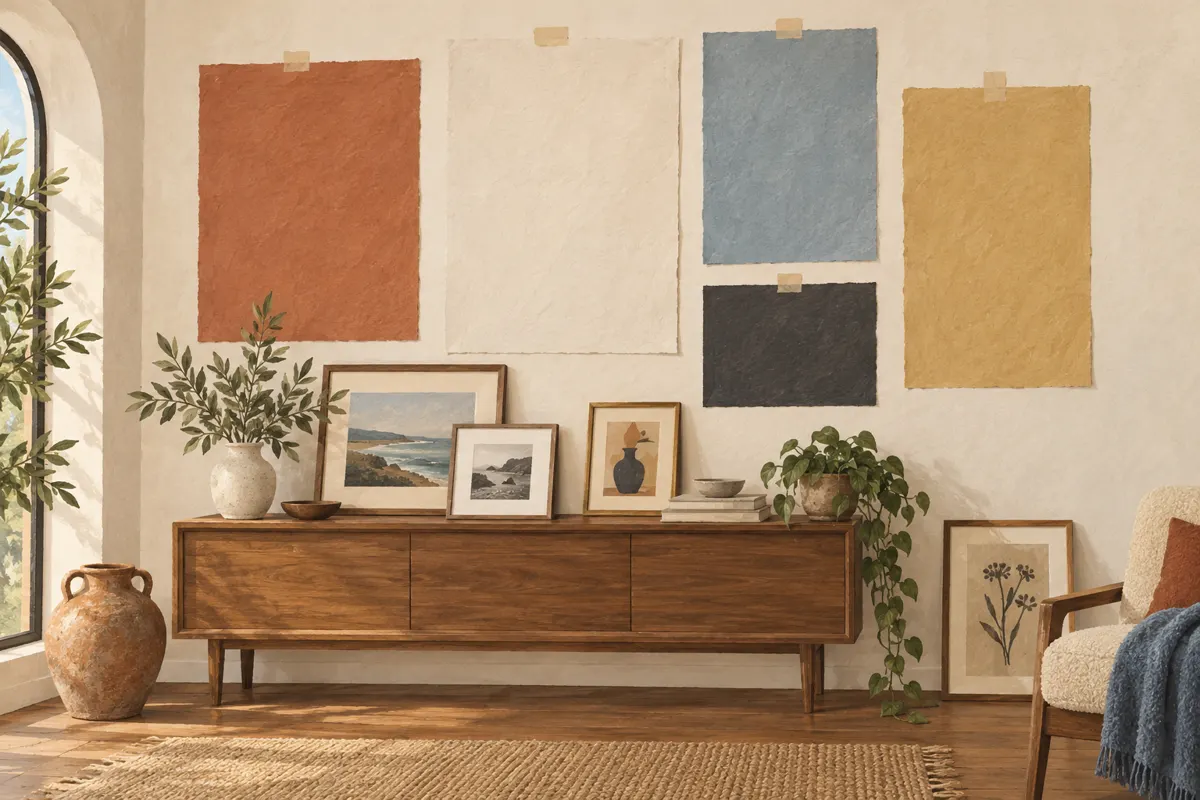
Cut paper to the outside dimensions of each frame, label the pieces, and tape them to the wall. Move the templates until the arrangement fits the room and the gaps look balanced. This lets you check the size, height and spacing of a gallery wall before hanging any pictures.
Measure the space and choose your pictures
Measure the usable wall area, accounting for furniture, door trim, switches, vents and other fixtures. Above a sofa or console, consider the furniture and pictures together: the display should feel connected to what sits below it. Write down the available width and height before choosing frame sizes.
Gather family photographs, prints and artwork, then narrow the selection. A shared element can help different subjects feel connected: similar frame finishes, repeated colors or a common theme. You can still mix portrait and landscape formats. If you are printing photographs, check that the files are suitable for the intended print size before planning around them.
Make a full-size template for every frame
Use newspaper, kraft paper or sheets of plain paper joined together. Measure the outer edges of the frame, rather than the photograph or print inside it. The frame determines how much wall space the finished piece occupies.
- Gather paper, scissors, a pencil, a tape measure and removable painter’s tape.
- Measure each frame’s outside width and height, or trace around it on paper.
- Cut out one template for each piece, keeping its intended portrait or landscape orientation.
- Label each template with the picture’s name and frame dimensions so similar pieces are easy to identify.
- If you have not bought the frames yet, use their planned outer dimensions and check the templates again when the frames arrive.
Choose a layout and set the gaps
Lay the actual frames on the floor first, where you can judge how the images and frame colors work together. Then transfer that arrangement to the wall with your paper templates. Choose a simple structure to guide your decisions.
- Grid: use equal-size frames in rows and columns with matching gaps.
- Anchor arrangement: place a larger picture near the center and arrange smaller pieces around it.
- Loose cluster: mix sizes while repeating a few aligned edges or a horizontal centerline.
A gap of 2–3 inches between frames is a common starting point, rather than a requirement. Measure between the frame edges. Keep the gaps consistent initially, then adjust if the arrangement needs it. Editorial proposal: for a mixed collection, start with the largest piece and add smaller templates one at a time, checking the whole group after each addition.
Check the arrangement from across the room
Step back far enough to see the display together with nearby furniture. Check whether the group drifts to one side, feels crowded against trim or leaves an awkward empty corner. Move the paper pieces and measure again. Leave them up for a day or two so you can assess the layout during normal use of the room.
Centering the overall arrangement around 57 inches above the floor is a common eye-level guideline. Treat it as a starting point and adjust for furniture and the room. Paper shows size and spacing, but it cannot show the full effect of a dark photograph or colorful painting. Compare the templates with your floor arrangement before settling on the final order.
Transfer the plan to the wall
Before removing the templates, photograph the approved arrangement. Choose hanging hardware suited to the frame weight and wall surface. For adhesive systems, follow the product’s placement, surface preparation and waiting instructions.
- Check the hanger position on the back of each frame; the fixing point may sit below the frame’s top edge.
- Transfer that position to the corresponding paper template while keeping its outline in place.
- Hang the central or anchor picture first, then work outward, replacing one template at a time.
- Use a level and recheck the gaps as you go.
- Step back after every few pictures to check the group against your reference photo.