Organize renovation photos so you can find hidden details later
· Editorial team newswithmiadenver.com
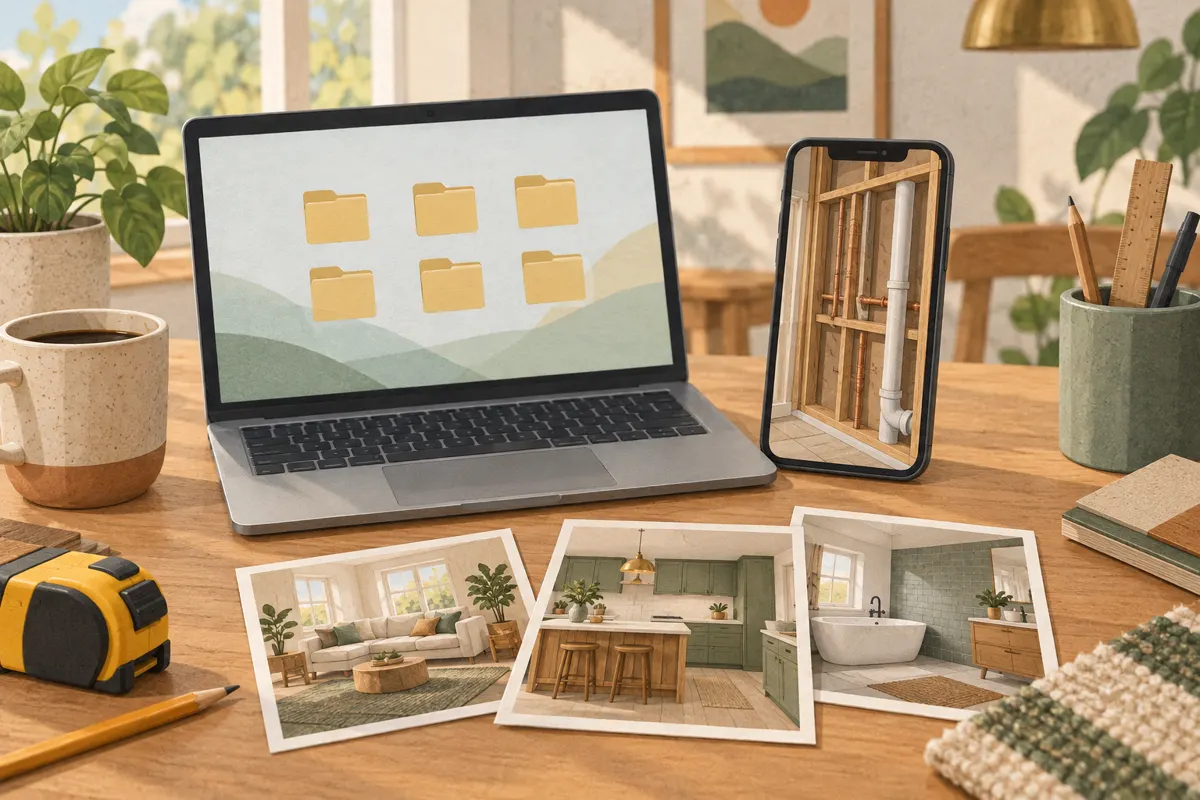
Organize renovation photos by room, name each file with its date and subject, and photograph exposed details before walls are closed. Keep wide views alongside close-ups so you can understand where each detail belongs. The following proposed workflow creates a practical reference for future maintenance and improvements.
Start with room folders and a simple structure
Create one main folder for the renovation, then a folder for each room or clearly named area. Choose names everyone in the household understands, such as kitchen, upstairs-bathroom or garage. For repeated room types, include the floor or location rather than relying on names like bathroom-2.
Within each room, use the same three stage folders: before, open-walls and finished. This keeps the original layout, concealed work and final appearance easy to compare. Put work that spans several rooms in a shared-systems folder, with a note naming the areas it serves.
Keep the structure shallow enough to browse comfortably. A small project may need only room folders; add stage folders when the volume of photos makes them useful. Collect pictures from household members and contractors into this central record instead of leaving essential images scattered across messages.
Photograph hidden details while they are visible
Arrange a suitable opportunity with the person managing the work to photograph exposed areas before they are covered. Take pictures from a safe, accessible position without touching wiring, moving materials or interrupting work. Prioritize details you will lose sight of once drywall, flooring or cabinetry is installed.
- Take a wide view showing the wall or floor and a recognizable landmark, such as a doorway or window.
- Take a closer view of visible pipes, cables, blocking or other details you want to record.
- Include a location reference. If a measurement matters, ask the contractor to provide or confirm it rather than estimating from the picture.
- Check that the important detail is sharp and visible before leaving the area.
Pair close-ups with their wide views. A clear picture of a pipe is less useful later if you cannot identify the wall it sits behind. Treat photos as reference material, not proof that a future drilling or cutting location is safe.
Use filenames that explain the picture
Use a consistent order: date, room, location, subject and sequence number. A proposed example is 2026-09-14_kitchen_sink-wall_supply-pipes_01.jpg. Putting the date in year-month-day order lets filenames sort chronologically, while descriptive words give you something meaningful to search.
- Use the date the photo was taken, checking it before renaming.
- Choose one term for each location and reuse it consistently.
- Prefer concrete subjects such as shower-valve, cabinet-blocking or paint-label.
- Add a sequence number when several pictures show the same subject.
Avoid filenames such as final-new or important-photo. If identifying every image would take too long, start with concealed work and material labels. Those pictures are likely to need more explanation than a finished-room overview.
Add location notes and material details
Keep a simple notes document in each room folder. Reference the relevant filename, explain where the camera was pointing and record any confirmed measurements. Define directions clearly: “left when facing the sink” is more useful than “left wall.” Mark uncertain details as uncertain.
For annotations, save a separate labeled copy and preserve the original. Arrows can identify a feature, but avoid covering the detail itself. Photograph useful product labels, packaging and finish information, then record readable names or codes in the notes. This gives you a text reference even when a label is difficult to read onscreen.
Maintain the record and check you can retrieve it
After each important stage, transfer new photos, remove obvious duplicates and add missing descriptions. Keep images that reveal different angles or details. At completion, add finished views from roughly the same positions as the earlier photos so the room is easier to compare.
Keep another copy in a separate storage location and check that it opens. Then try a practical retrieval task: find the kitchen sink plumbing or bathroom finish label without scrolling through every image. If that is difficult, improve the filename or location note while the work is still familiar. Add later repairs to the same record, preserving the earlier stages.